Step-by-Step Guide to Applying Pink Vinyl Wraps
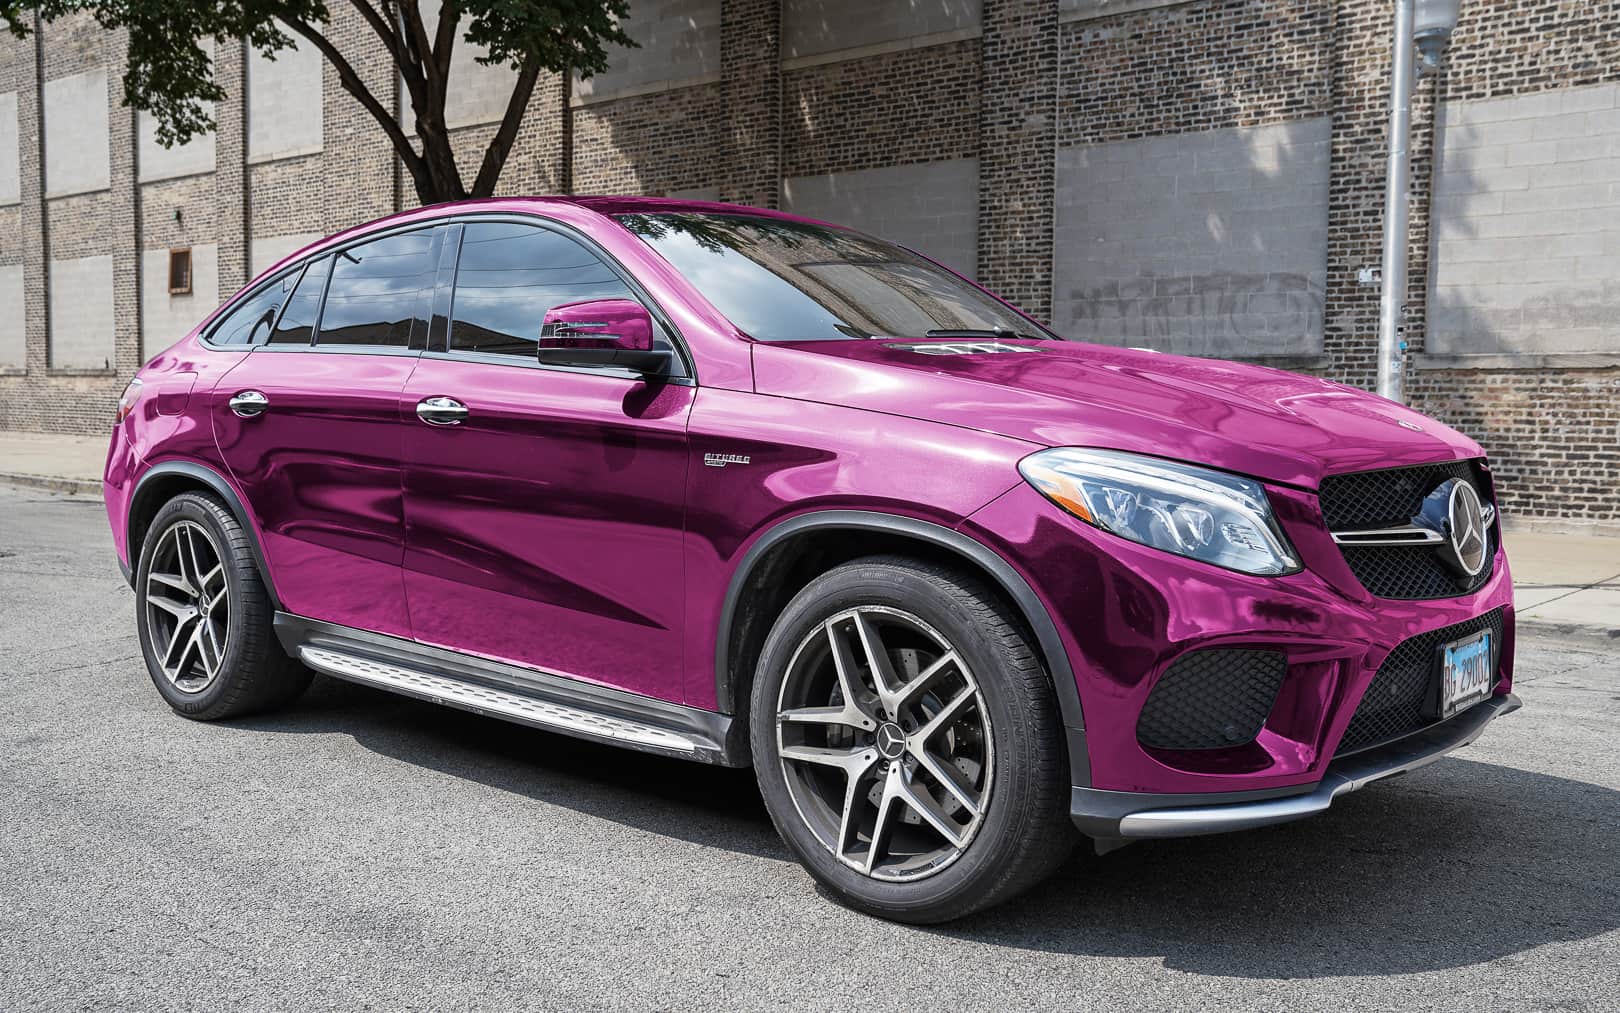
Adding a Pink Vinyl Wraps to your vehicle is a fantastic way to give it a fresh, vibrant look while also protecting the original paint. Whether you're going for a bold statement or a subtle pastel hue, vinyl wraps are an affordable and reversible option. Here's a simple, step-by-step guide to help you apply a pink vinyl wrap like a pro.
Step 1: Gather Your Materials
Before diving into the process, ensure you have all the necessary tools and materials. You'll need:
- Pink vinyl wrap of your choice
- A squeegee or application tool
- Heat gun or hairdryer
- Precision cutting knife
- Isopropyl alcohol or a degreaser
- Microfiber cloths
- Masking tape (optional)
Step 2: Clean the Surface
A clean surface is crucial for a smooth application. Wash your vehicle thoroughly to remove dirt, grease, and debris. Once dry, use isopropyl alcohol or a degreaser with a microfiber cloth to wipe down the areas where the wrap will be applied. This ensures proper adhesion and prevents bubbles.
Step 3: Measure and Cut the Vinyl
Measure each section of your vehicle that you plan to wrap. Cut the vinyl into manageable pieces, leaving a few extra inches on all sides for adjustments. It's better to have excess material than to come up short.
Step 4: Position the Vinyl
Peel off the backing paper from the vinyl and carefully position it on the surface. Align it properly before pressing down. If needed, use masking tape to hold the vinyl in place while you adjust.
Step 5: Apply the Vinyl
Start from one end and work your way across the surface. Use a squeegee to press the vinyl down, smoothing out air bubbles as you go. Apply gentle pressure to avoid creases or wrinkles. For curved areas, use a heat gun to make the vinyl more pliable and easier to shape.
Step 6: Trim Excess Material
Once the vinyl is securely applied, use a precision cutting knife to trim away excess material. Be cautious not to cut into your vehicle's paint. Take your time around edges, seams, and corners for a clean finish.
Step 7: Seal and Smooth
Go over the entire surface with your squeegee one final time to ensure the vinyl is firmly adhered. Use the heat gun to seal edges and smooth out any remaining imperfections.(Copper Vinyl Wraps)
Step 8: Inspect Your Work
Step back and inspect your vehicle for any air bubbles, wrinkles, or uneven edges. If you spot any flaws, carefully lift the vinyl and reapply as needed.
Final Thoughts
Applying a pink vinyl wrap is a rewarding DIY project that can transform your vehicle's appearance in just a few hours. With patience, attention to detail, and the right tools, you can achieve professional-looking results. Plus, if you ever change your mind, vinyl wraps are easy to remove without damaging your car's paint. So go ahead—add that pop of pink and hit the road in style!